Contact
Contact

Pave your own way! A guide to DIY paving


Spring is upon us, and it's the perfect time to get your yard in order. If you've been considering laying a new path or adding some garden edging, now is the time to make it happen. The good news is that it's easier than you might think! Here’s the advice you need to turn your project into a reality. Plus, as a special bonus, we're offering 15% off selected pavers at our Landscape Yard Shop throughout September. Let's get started on creating a beautiful outdoor space!
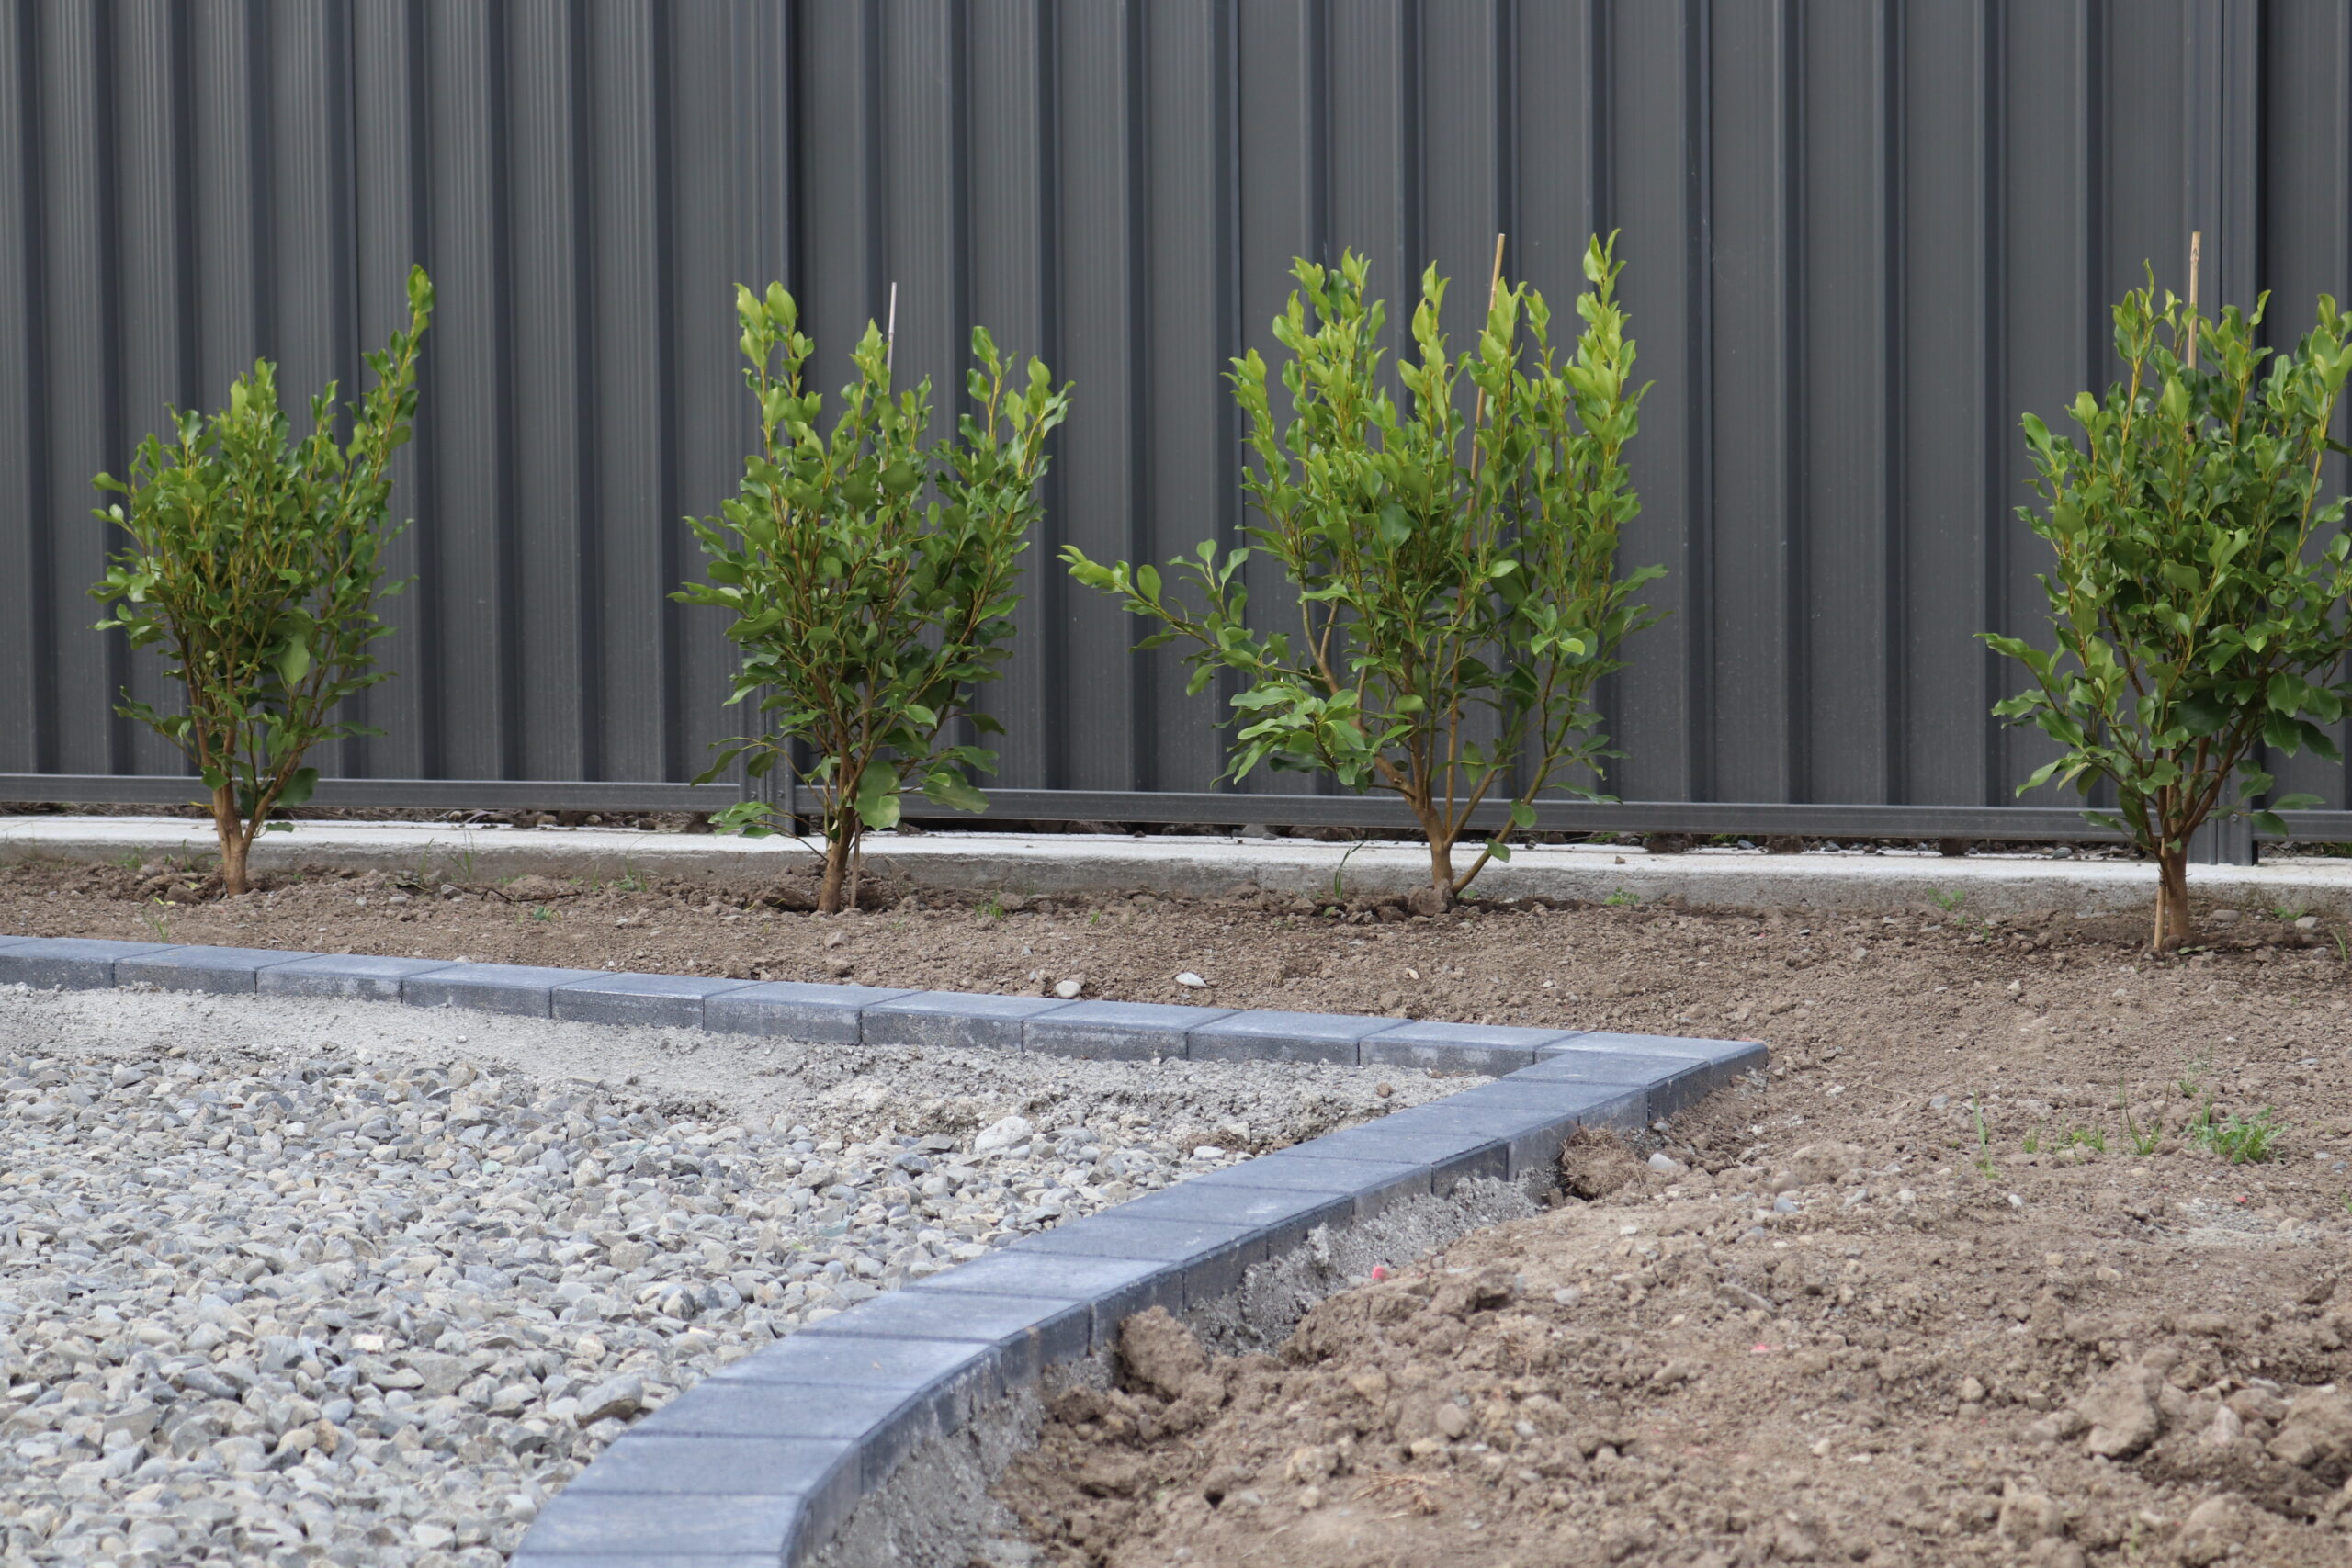


Garden edge paving:

Laying pavers as garden edging is a great way to define garden beds, paths, or lawn areas. Here's a simple, step-by-step guide to help you get the job done.

Materials you'll need:

  • Pavers
  • Shovel
  • Garden hose or string
  • Rubber mallet
  • Measuring tape
  • Level
  • Sand- Typically builders sand
  • Broom


Step 1: Plan your edging layout

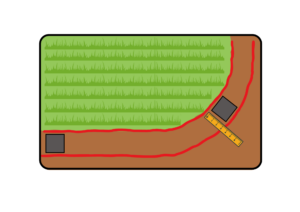
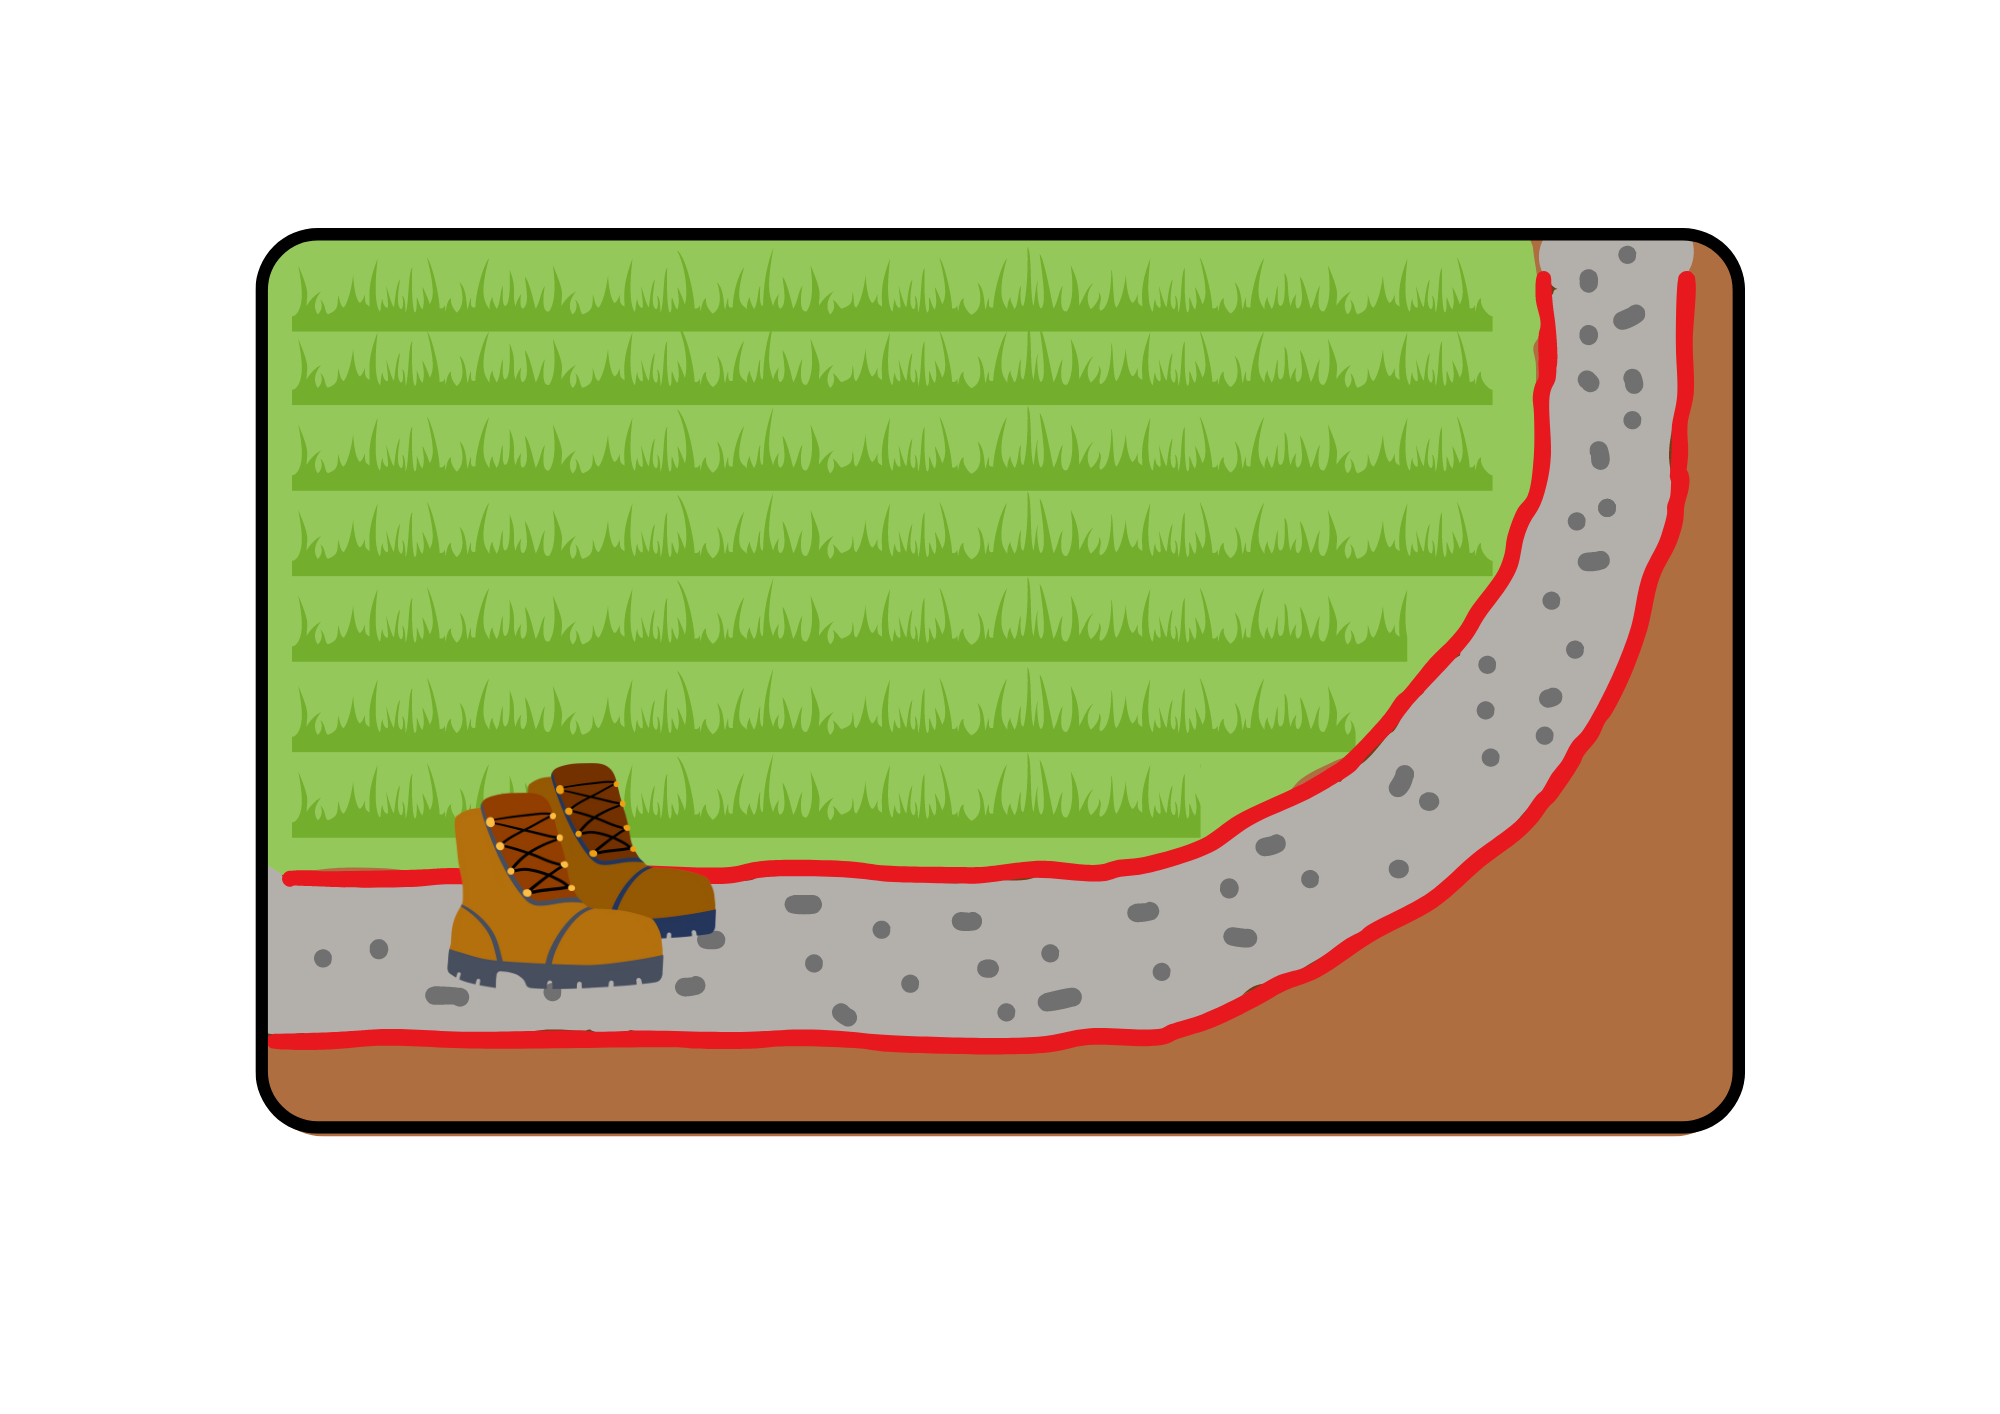
  1. Decide on the design: Determine where you want to place the edging. Use a garden hose or string to outline the area. This will give you a visual guide to follow.
  2. Measure: Measure the length of the area to calculate how many pavers you’ll need. Add a few extra pavers to account for cuts or mistakes.


Step 2: Prepare the ground

  1. Dig a trench: Use a shovel to dig a trench along the line where the pavers will be placed. The trench should be deep enough to accommodate the thickness of the pavers plus a 3-5cm layer of sand.
  2. Check the depth: Ensure that the trench is level and at the correct depth. Use a level to check the ground.


Step 3: Add a base layer

  1. Add your first layer of sand: If you want added stability, pour a 3-5cm layer of sand at the bottom of the trench then lightly wet the sand. This will help prevent the pavers from shifting.
  2. Compact the sand: Use your feet or the end of your shovel to compact the first sand layer firmly.


Step 4: Add loose sand

  1. Spread sand: Pour a 3cm layer of loose sand over the compacted sand
  2. Level the sand: Use a board or your level to smooth out the sand so that it’s even and level throughout the trench. Add sand as needed to create a flat base for your pavers


Step 5: Lay the pavers

  1. Place the first paver: Start at one end of the trench and place the first paver down, pressing it into the sand.
  2. Check the level: Use a level to ensure that the paver is sitting flat and even. If necessary, tap it gently with a rubber mallet to adjust its position.
  3. Continue laying pavers: Place the next paver adjacent to the first one, leaving a small gap (about 3mm) between them. Continue this process until all the pavers are laid.
  4. Cut pavers (If Needed): If you need to cut pavers to fit the end of your edging, use a chisel and hammer or a paver saw to trim them to the correct size.


Step 6: Secure the pavers

  1. Backfill the trench: Once all the pavers are laid, backfill the sides of the trench with soil to secure them in place.
  2. Tamp down the soil: Press down the soil firmly around the edges of the pavers to hold them in position.


Step 7: Final touches

  1. Sweep sand into gaps: Sprinkle sand over the top of the pavers and use a broom to sweep it into the gaps between them. This will help lock the pavers in place.
  2. Compact the edging: Walk along the edging to ensure the pavers are firmly set in place.
  3. Clean up: Brush off any excess sand and tidy up the area.


Garden path paving:

Now that you have the technique down, how about giving laying a path a try?


Laying pavers, whether for a garden path or edging, is a rewarding DIY project that can transform your outdoor space. By following the steps outlined in this guide—planning your layout, preparing the ground, and carefully placing and securing the pavers—you can achieve a professional-looking finish that enhances both the beauty and functionality of your garden. With a bit of patience and attention to detail, you'll create a durable and attractive feature that you can enjoy for years to come. So gather your materials, roll up your sleeves, and start paving your way to a more beautiful garden!


chevron-down linkedin facebook pinterest youtube rss twitter instagram facebook-blank rss-blank linkedin-blank pinterest youtube twitter instagram